Need Financing? Learn More Today

The Living Water Process
How Living Water Works is a simple patent-pending four-step process from setup and activation to ongoing maintenance designed to seamlessly integrate with your irrigation system and deliver consistent automated microbial performance with minimal labor.
Order, Receive & Prepare Your Bioreactor System
Once you receive your patent-pending Living Water Automated Microbial Bioreactor kit, which includes the bioreactor unit, carefully unpack the system and verify that all required components are present and free from damage prior to installation.
Next, select the installation location and confirm the site is properly prepared. The bioreactor setup requires:
A reliable power source
Access to a clean water supply
Proximity to the irrigation system where the injection/feeder pump will be installed
One clean 275-gallon IBC tote (not included)
An injection/feeder pump (available for purchase, or you may supply your own)
Ensuring these requirements are in place ahead of time will allow for a smooth, efficient installation as you move into the next steps.
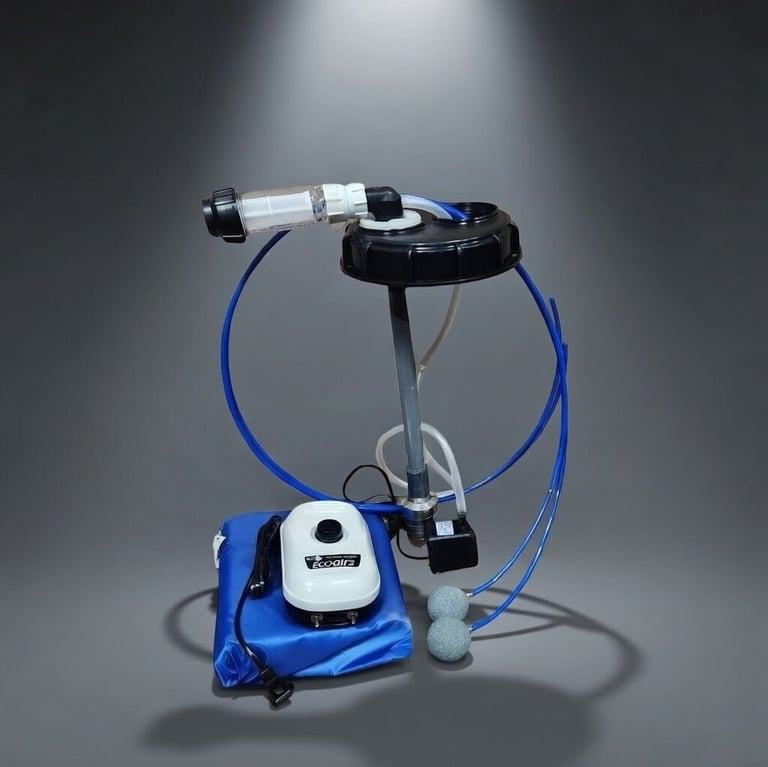
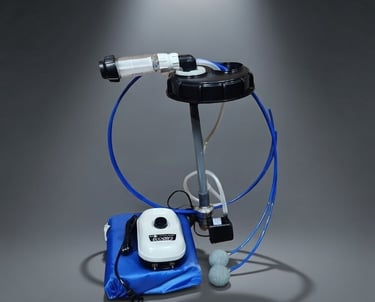
Step 1 - Bioreactor Installation
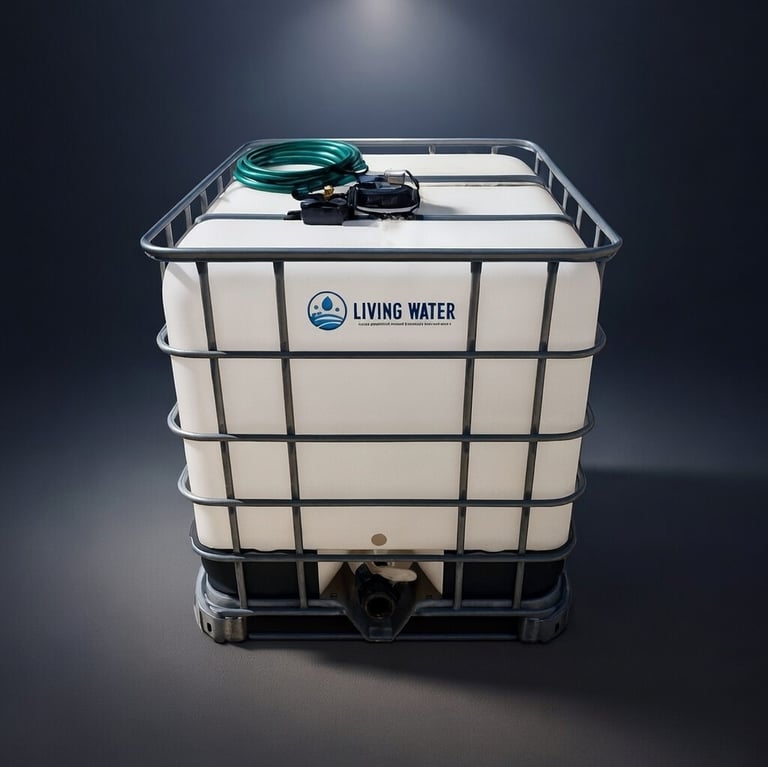
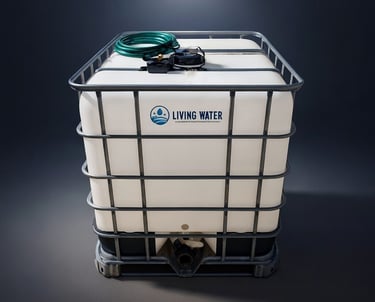
Step 2 - IBC Tote System
Prepare the IBC Tote & Install the Bioreactor
Before installation, ensure the 275-gallon IBC tote has been thoroughly cleaned and is completely free of any residual materials from prior use.
Once the tote is prepared, follow the installation manual to mount and install the Living Water Automated Microbial Bioreactor inside the tote. Connect the system to the designated water source and power supply, then initiate system startup.
Verify that circulation flow and oxygenation are operating properly, including aeration and internal mixing. Allow the system to run according to the instructions prior to introducing the microbial blend.
Completing these steps ensures the bioreactor is fully operational and properly conditioned before microbial induction.


Step 3 - Microbial Introduction & Ongoing Recharges
Introducing the Microbes to the Living Water System
Step three is straightforward. Using a clean funnel, introduce the microbial blend SoilPHIX into the Living Water Automated Microbial Bioreactor through the fill port located on the top of the bioreactor unit.
Once the microbial mix has been added, allow the system to continue running to begin proper microbial activation and circulation.
After the introduction, securely place the provided tote cover over the IBC tote. The cover protects the system from direct sunlight and excessive heat, helping maintain stable conditions for optimal microbial performance.
Each month, you will receive your subscription-based SoilPhix recharge package. Simply follow the same microbial introduction process to replenish the system and maintain peak performance throughout the growing season.
Step 4 - Bioreactor Maintenance
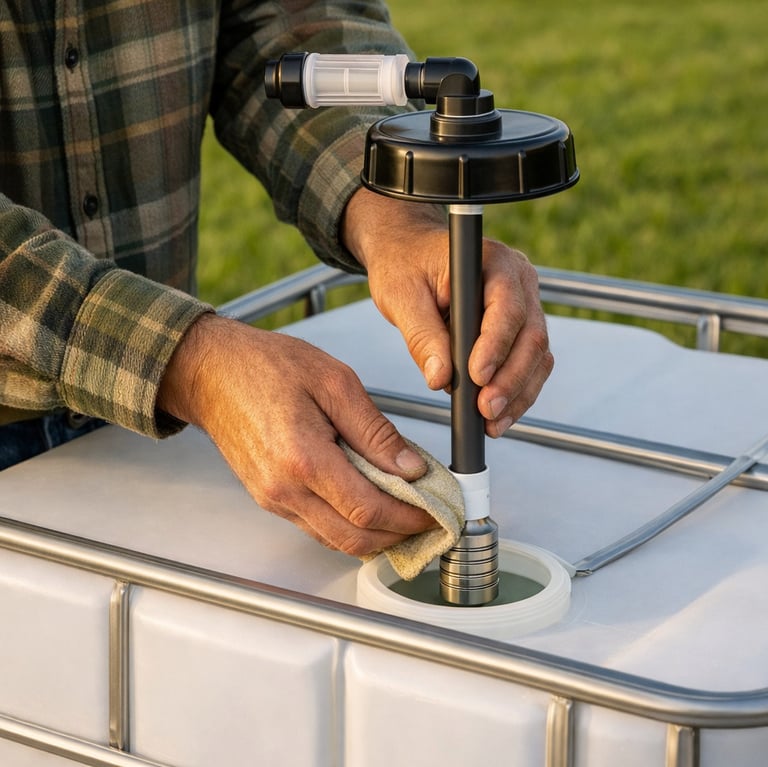
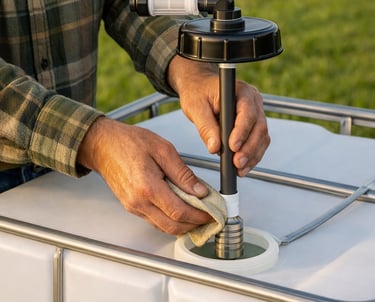
Monthly Bioreactor Maintenance
The final step in the process is routine bioreactor maintenance. This maintenance should be performed monthly, preferably prior to introducing your subscription-based SoilFix recharge.
Begin by removing the bioreactor from the IBC tote. Thoroughly clean the following components:
The hose water filter is located at the top of the system
The circulation pump inside the IBC tote
The float water valve (the silver component at the end of the shaft)
The air stones inside the tank
Ensure all components are free of buildup or debris to maintain proper flow, oxygenation, and system performance.
Once cleaning is complete, reinstall the bioreactor into the IBC tote. After the system is reassembled and running, introduce the monthly SoilFix recharge packet following the same microbial induction process outlined in Step 3.
Performing this simple monthly maintenance ensures consistent operation, optimal microbial performance, and long-term system reliability throughout the growing season.
Join Us Online
Learn More About Soil Health
Contact Us
Join our Newsletter
© 2026-2030 All rights reserved.
Living Water Agriculture 12335 Kingsride Ln Suite 414 Houston, TX 77024 USA +1-208-346-7194
Menu